
On this page
- A jar test on your actual slurry beats a spec sheet comparison every time.
- 2–3 candidate grades across a small dose range usually identifies a clear winner.
- Record floc formation time, settling velocity, supernatant clarity and sludge volume — consistently.
- Follow up with a small plant trial (often a single 25 kg bag) before committing to bulk supply.
Why sample evaluation matters
Industrial flocculants, settling powders and polyelectrolytes do not behave identically across plants. Two facilities running an outwardly similar process can still see noticeably different results from the same product because of differences in slurry chemistry, equipment design and operating practice.
Sample evaluation is the most reliable way to bridge this gap. A short trial with a small quantity of one or more candidate grades, conducted on the actual slurry, takes most of the guesswork out of product selection and reduces the risk of committing to a bulk order that under-performs at scale.
What a typical jar test involves
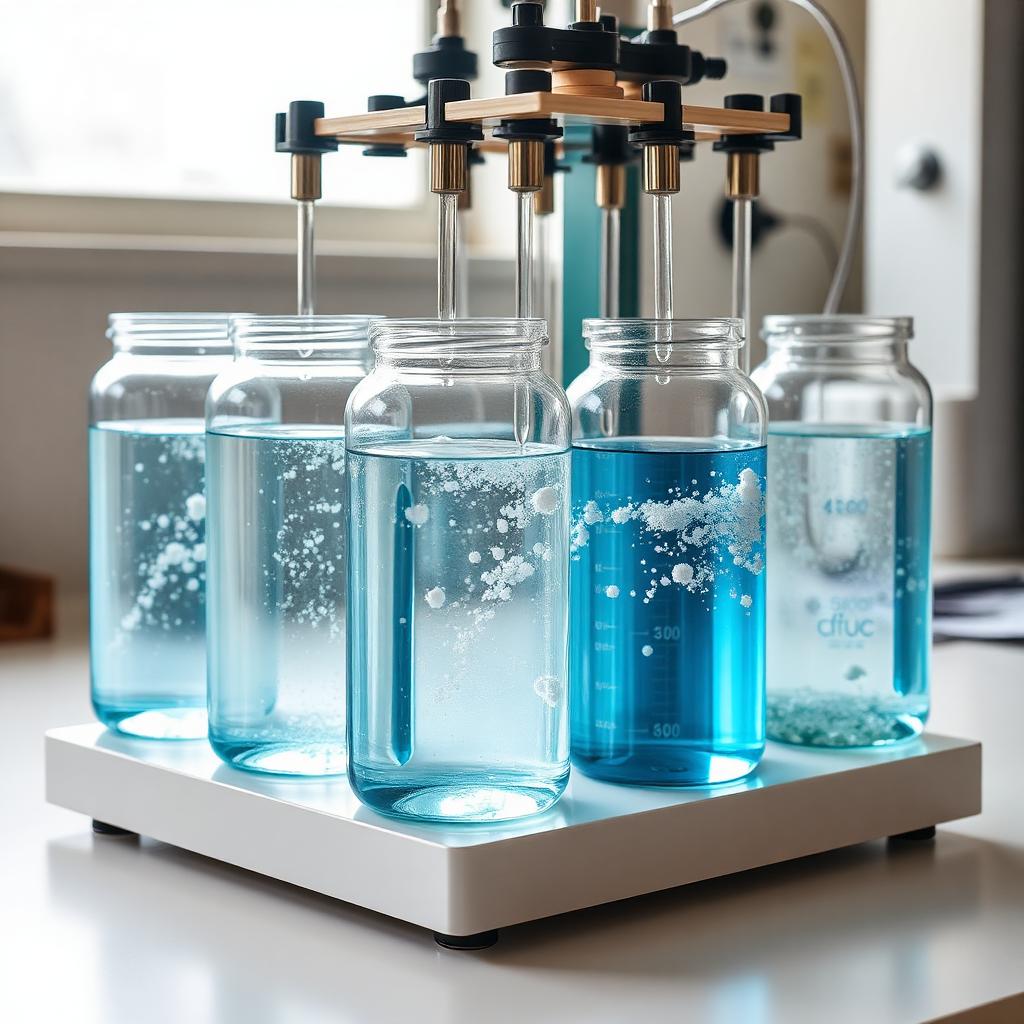
A jar test is the standard laboratory procedure for evaluating flocculants. The basic sequence is straightforward and can be run with modest equipment — a multi-paddle stirrer, a set of matched beakers, a stopwatch and a graduated cylinder.
| Step | What you do | Typical value |
|---|---|---|
| 1. Sample | Collect representative slurry from the dose point | 1–2 L composite |
| 2. Prepare solution | Dissolve polymer in clean water and age | 0.1% w/v, 30–60 min ageing |
| 3. Rapid mix | Add dose under fast stir to disperse polymer | 150–200 rpm for 30–60 s |
| 4. Slow mix | Reduce speed to grow flocs | 30–40 rpm for 2–3 min |
| 5. Settle | Stop stirring and observe settling | 5–10 min observation |
| 6. Record | Note clarity, sludge volume, dose | One row per beaker |
Repeating this across two or three candidate grades and a small dose range typically identifies the most suitable product and a useful starting dose for the plant trial that follows.
What to observe and record
Consistent observation is what makes a jar test useful. The specific numbers matter less than recording the same things, the same way, across every beaker.
Seconds from dose to first visible flocs. Faster is usually — but not always — better.
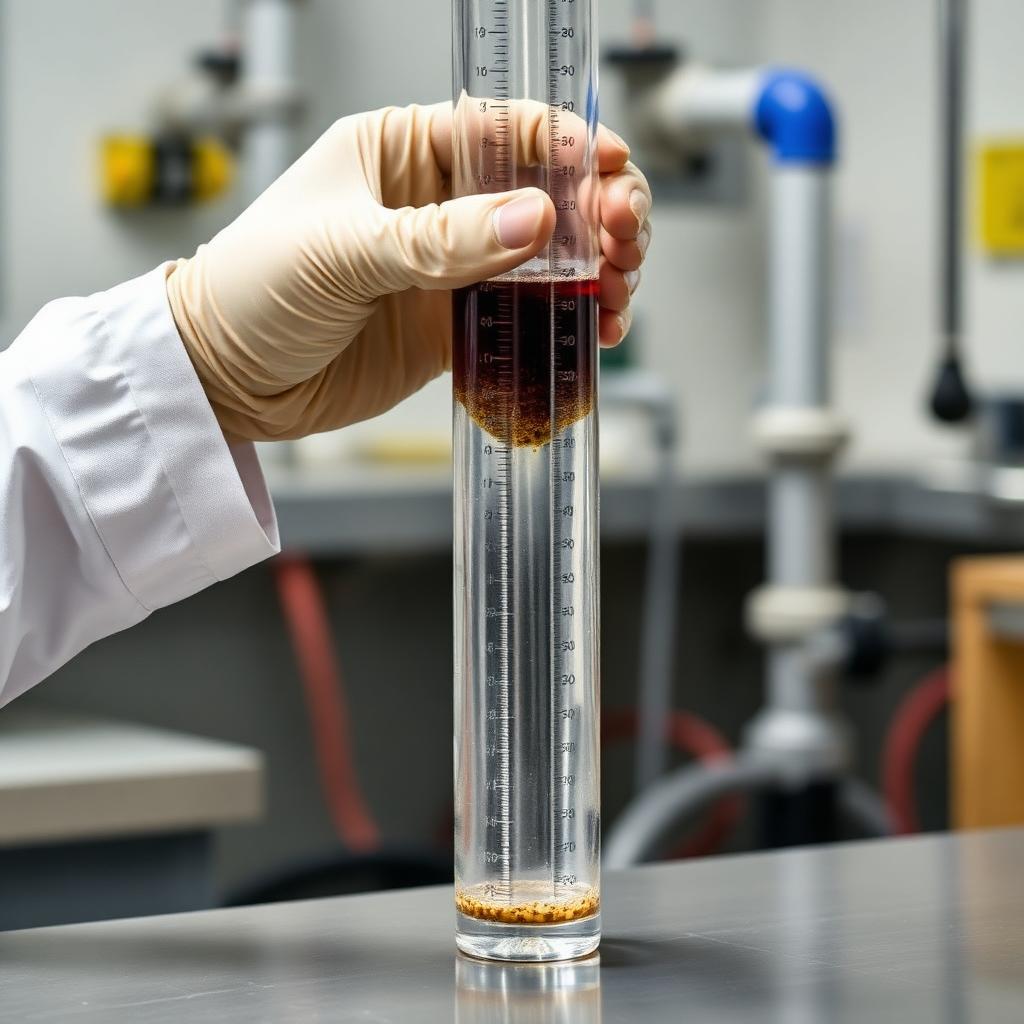
Rate at which the sludge interface drops in a graduated cylinder — the clearest comparison between grades.
Turbidity after a fixed settling time. Ideally measured with a turbidity meter; visual comparison is a workable fallback.
Volume of the compacted sludge layer. Denser underflow means easier downstream handling.
Moving from jar test to plant trial
Jar test results almost always need a small plant trial to confirm performance under real flow rates, mixing energy and residence time. The jar test narrows the field; the plant trial confirms the final choice and the working dose rate.
A typical plant trial uses a single 25 kg bag (or a small number of bags) over a defined run, with operators noting clarifier overflow clarity, underflow density and any change in downstream filtration or dewatering performance. Plan for a short bedding-in period — the system needs time to reach steady state after a polymer change.
Keep the previous product available during the trial. If the new grade underperforms you want to revert quickly without disruption to the plant.
Sample evaluation checklist
- Describe the slurry: source, typical solids %, pH and temperature range.
- Note the equipment: clarifier, thickener, DAF, centrifuge or belt press.
- Current product and dose rate (if any), and what you are trying to improve.
- Expected throughput and how long the plant trial can run.
- Who at the plant will run the jar test and record results.
How we support sample evaluation
When you contact us we typically begin with a short discussion of the application — the slurry, the equipment, the current product (if any) and what you are trying to improve. Based on this we suggest grades that are commonly used in similar processes and arrange sample support so you can run your own trials before commitment.
This approach respects the reality that no two industrial streams are exactly alike, and it gives buyers confidence in the product before any bulk commitment is made.
Want to run a trial on your slurry?
Share a short note on your process and we will suggest the right candidate grades and sample quantities.
Frequently asked questions
How much sample material is usually needed for a jar test?+
For a lab jar test on 2–3 candidate grades, 100–250 g of each polymer grade is usually plenty. That is enough to prepare a 0.1% working solution and run a dose curve across three to five doses per grade. For a small plant trial to confirm results, a single 25 kg bag is typically enough for a defined run.
How long does a typical sample evaluation take?+
The jar test itself is fast — a full comparison across 2–3 grades and a small dose range can usually be completed in a single working day once the polymer solutions are aged. The plant trial that follows takes longer because it needs to run under steady-state conditions and give operators time to observe downstream effects like filtration or dewatering performance.
What sample of slurry should I send to the lab?+
A representative sample from the actual point where polymer will be dosed — for example, clarifier feed, thickener feed or pre-dewatering sludge. A one-off grab sample is fine for a first-pass jar test, but a composite sample taken across a shift gives a more reliable read for grade selection.
Can I skip the jar test and just try a bag in the plant?+
You can, but it costs more time and money if the first choice does not work. A jar test narrows the field in a few hours; skipping it usually means multiple plant trials, each with the disruption that comes from swapping polymer in a running system. Most plants find the jar test pays for itself quickly.
Do you provide samples free of charge?+
Sample support is arranged case by case based on the application and quantity involved. Get in touch with a short note on your process — slurry type, throughput and current product if any — and we will discuss what makes sense for your evaluation.